Page 5 of 11

Re: Arduino controler

Posted: 27 Dec 2016, 00:54
by Oz Flyer
When looking at the Arduino's is there any thing you need to look for to have them work with SPAD.neXt?
I did read somewhere about HID.
I ask this as my local suppler dose not carry the Teensy and as yet never played with them.

Just for REF local supply range:
http://www.altronics.com.au/search/all/ ... uino&pz=64

Re: Arduino controler

Posted: 27 Dec 2016, 04:48
by OldAirmail
David, looking at an Arduino UNO R3 in that link, it looks somewhat expensive. Try this one from Aus-E-parts Arduino UNO R3 ATMega328P USB Compatible Development Board AU$15.95


Ulrich is using an UNO R3, and seems to have done rather well with it. But he's using it for controlling 7 segment displays.

I doubt that using an UNO R3 for buttons would cause him any problems, but just for buttons, rotary encoders, and switches you can use any cheap Arduino based on an Atmega32U4 processor. Many of them can be bought for less than $4 - $5 USD.

The Arduino that I used in the GPS was a "Pro Micro". Here's one from a Chinese distributer for AU$ 7.89 You could probably find better prices.

Read - Arduino boards to use as USB/HID controllers

These boards can be seen by a computer, and therefor SPAD.neXt, with minimal programming. In fact many of the sellers have code that you can download to turn their Arduino into a keyboard or joystick. That's what I did for the GPS that I made - Download from the internet - download to the Arduino board - immediately recognized as buttons.

BTW - I'm not sure that I've made this clear, but when you program an Arduino, it holds that programming even after disconnecting it from the computer or power source.


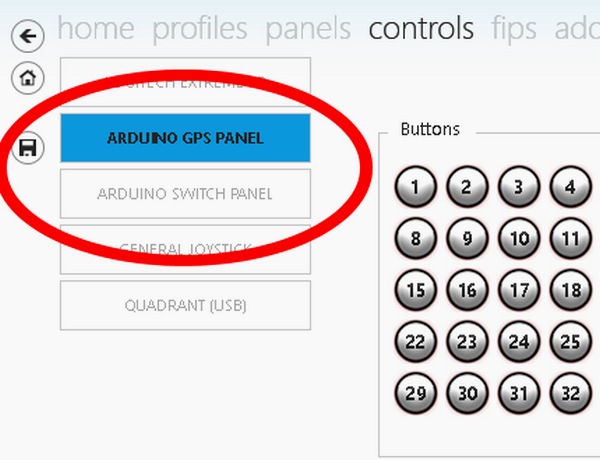
One problem with most Arduino boards is that you can't rename them. UNLESS you're using SPAD.neXt. :D

Circled are two identical Arduino boards that are programmed differently, and renamed in SPAD.neXt.
Image

If you plug them into different USB ports they'll loose their "changed name", but still function properly.

One way to get around that is to plug it into another port that you might switch it to, and then rename it to whatever is useful to you, keeping the same name on every port.

Good luch. :D

Re: Arduino controler

Posted: 27 Dec 2016, 05:05
by c0nnex
I'm using the UNO R3 just for testing and rapid prototyping.
Please take a closer look at the video, it's a Teensy 3.5.

I will be using the Teensy for direct support other than Buttons (Segment Displays, LCD Displays, TFT Displays, Servo Control etc). As planned now, I'll only provide a firmware for Teensy-Boards, I might be looking into otehrs, but no promise.
If you wanna use other boards, you will most likely have to write your own firmware, once I published the protocol SPAD.neXt will use.

Re: Arduino controler

Posted: 28 Dec 2016, 04:53
by OldAirmail
"May you live in interesting times" might not be a curse at all.

I'm only a tinkerer, but with the use of some Arduino's I see possibilities that didn't exist before.

I'll never be interested in a full cockpit, but building your own panels has great appeal to me.

Whatever more you do will be icing on the cake.

Re: Arduino controler

Posted: 28 Dec 2016, 10:16
by c0nnex
OldAirmail wrote: If you plug them into different USB ports they'll loose their "changed name", but still function properly.
One way to get around that is to plug it into another port that you might switch it to, and then rename it to whatever is useful to you, keeping the same name on every port.
This can be easily "fixed". It's just a 2-3 liner in the code to add a serial number to the Teensy Joystick, so SPAD.neXt will always re-recognize it, whatever USB Port it is plugged into.

Re: Arduino controler

Posted: 29 Dec 2016, 01:55
by cjwon97210
I used arduino control to control Q400 panel.How to set action in spad.next let light work like this video?
I have search a lot of time,but still not find how to do.
http://myq400.com/blog/item/an-exciting ... he-project

Re: Arduino controler

Posted: 29 Dec 2016, 09:26
by c0nnex
cjwon97210 wrote:I used arduino control to control Q400 panel.How to set action in spad.next let light work like this video?
I have search a lot of time,but still not find how to do.
http://myq400.com/blog/item/an-exciting ... he-project
In the video it's done with a Ultimarc PACDRIVE/PACLED64 not arduino.
For arduino support the biggest problem is that there is no standardized way to talk to the device. Most arduino devices do not even annouce themself as real usb device, but only operate via serial coms, which makes it even more complicated.
Please download https://www.spadnext.com/download/JoyIdent.zip , extract it somewhere and start it.
Attach the created "devices.txt" to a support ticket please (you can just email to support@spadnext.com)

I will provide a firmware / sketch for the most common arduino boards/cpu's as soon as i fixed up the SPAD.neXt-protocol.

Re: Arduino controler

Posted: 08 Jan 2017, 05:47
by OldAirmail
Last week I ordered a Teensy 3.5 and an 8 digit display similar to Ulrich's', keeping in mind that it had to use two 74HC595 shift registers.

If the part "74HC595 shift registers" doesn't make any sense to most of you, relax. It wasn't too long ago that it didn't make sense to me either.

Lets break it down
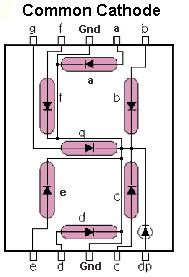
One "number" has 7 segments. Pretend that each "bar" in that segment requires a positive voltage. So naturally you'd also need a negative line going in, right? Kinda. Each number segment also has a "dot" or period in the bottom right corner. That makes 8 leads. But then you have two more leads, I'll call them "ground" wires in this case.
Image

Two leads are ground, and can go to a common ground on the Arduino. So lets call it 9 wires just for one number segment.

But this is an 8 digit display! That's going to be a lot of wires running around.


Enter the "shift register"

To over simplify - it uses only three lines from the Arduinos to address all the separate LEDs that make up a 7 segment (plus the dot) display through those two 74HC595 chips FOR ALL 8 DIGITS!

To complicate matters there are two, more or less, incompatible systems - common anode and common cathode. It is possible to work around the differences, but it's MUCH better just to get the right one.

And on a beginners level that's all you need to know for now -get the right part and follow the directions.

So I knew that Ulrich's display used the 74HC595 shift registers, and I bought a similar display board - the XINY 8-Digit Digital Display Control Module 8-Digit 7 Segment Digital LED Display Tube $7.60. If I made a mistake, I can live with it.

So I now have a Teensy 3.5 and an 8 digit display similar to Ulrich's'. BTW - I could have gotten the display cheaper, but it would have taken much longer. A few dollars won't make a difference.


NEXT - time to play.

I found some decent software to test the display here - playground2014. See the attached text file. Just copy and paste into the Arduino IDE.

It worked so well that I went a little crazy and tested it on all the Arduinos that I have. Only one didn't work right, and that's probably my fault.

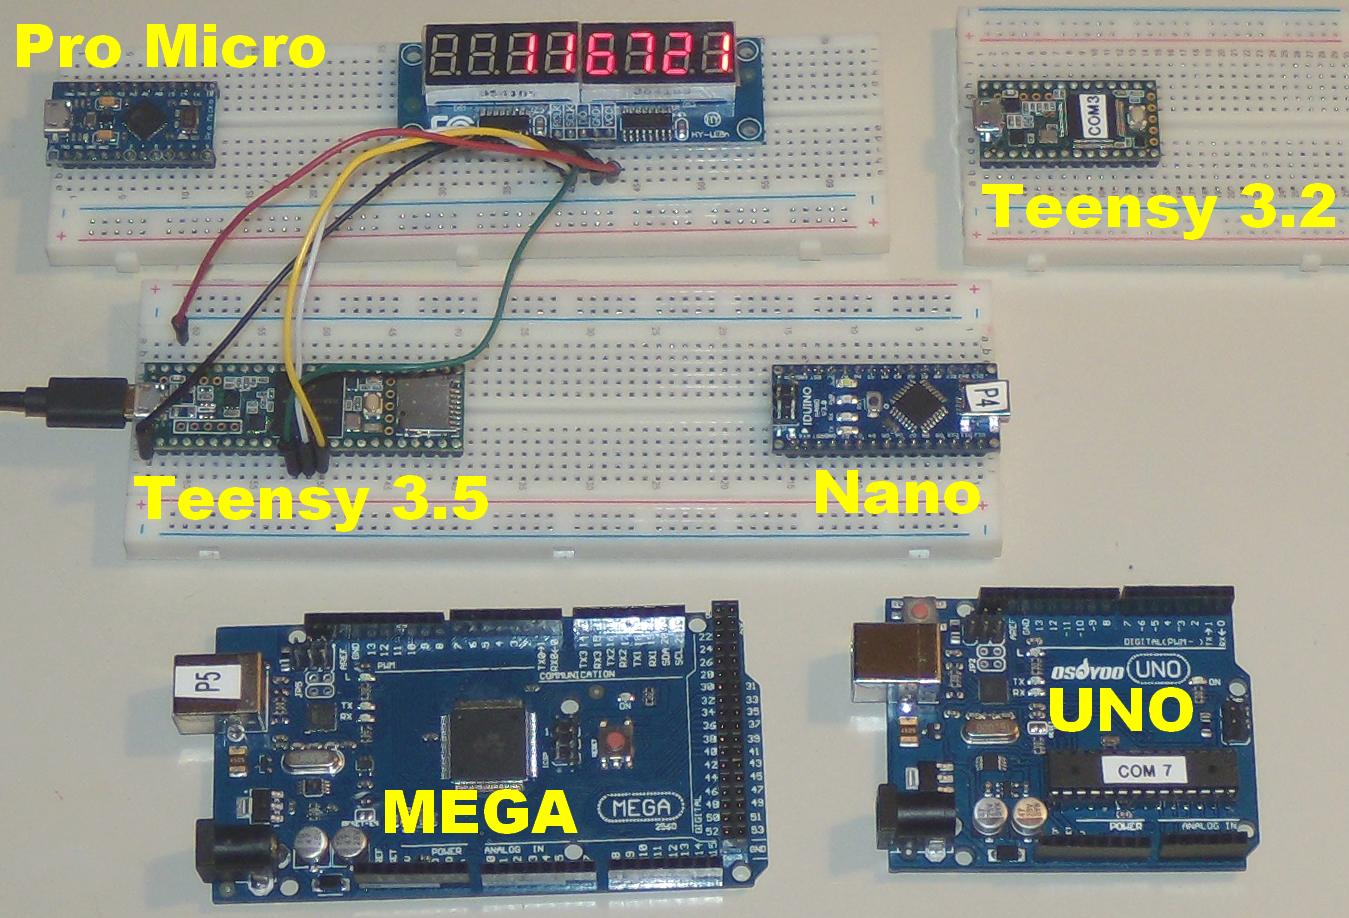
Any way. The unmodified code worked on all of these
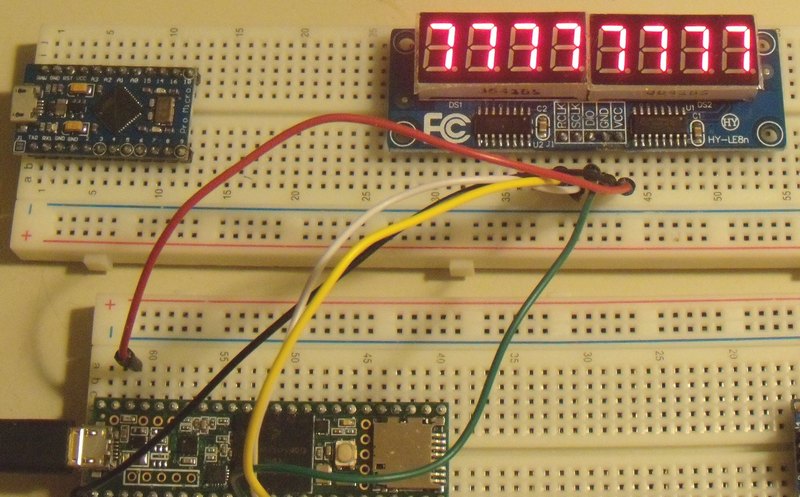
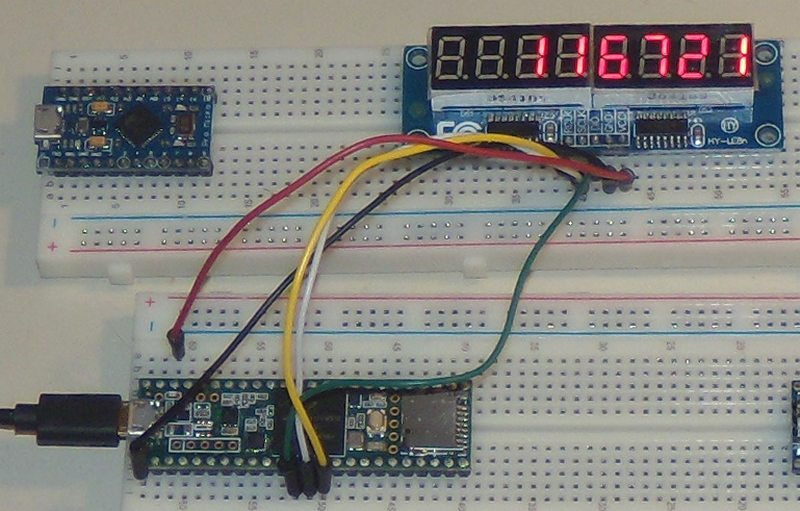
Sorry for the poor picture quality. In real life all the numbers are evenly lit, and quite bright.
Image


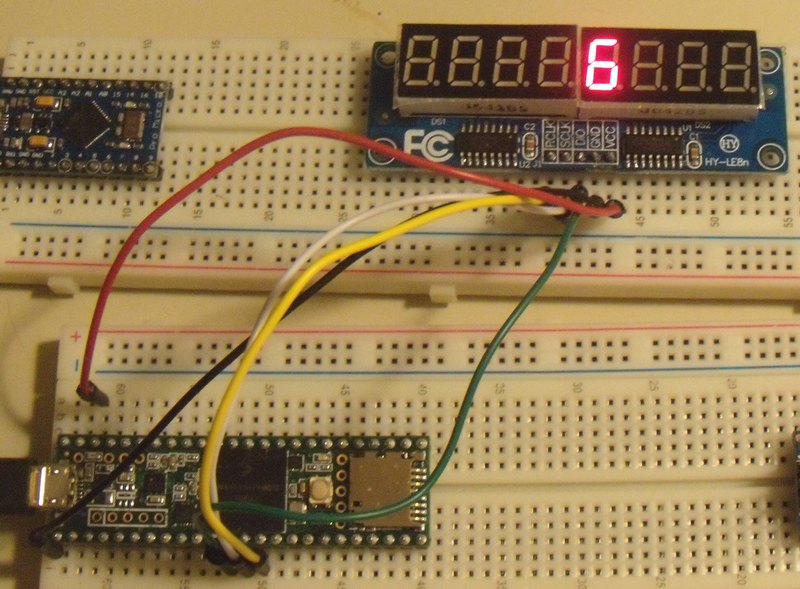
The program starts on the right end. It goes through each number, 0 through 9, and then blacks out. It now does another run, 0 through 9, on the next 7 segment digit.

In this picture, it's testing the fourth digit.
Image


Once it has checked each number segment, it tests ALL number segments at the same time, 0 through 9.
Image


The grand finally is that it does a n+1 count until all digits are filled.
Image

That's all folks.

Re: Arduino controler

Posted: 28 Jan 2017, 15:27
by OldAirmail
Hi, Ulrich.

I'm not pushing, but I'm wondering if you are still interested in using the Arduinos.

I know that you have a "to do" chart somewhere, but I was unable to find it.

Re: Arduino controler

Posted: 28 Jan 2017, 20:36
by c0nnex